How to Install PHP on Windows
Why PHP?
PHP is one of the most popular server-side scripting languages for web development, and here’s why we use it:
- Easy to Learn: PHP’s simple syntax makes it an excellent choice for beginners while offering advanced features for professionals.
- Wide Adoption: Many platforms, including WordPress, Magento, and Joomla, are built with PHP, creating vast opportunities for developers.
- Community Support: With a massive developer community, finding solutions to problems is fast and easy.
- Integration: PHP integrates seamlessly with MySQL, making it ideal for database-driven applications.
- Cost-Effective: Being open-source, PHP is free to use, reducing development costs.
How to Install PHP on Windows Using XAMPP and VS Code
Setting up PHP on a Windows PC is a straightforward process that requires just a few tools. In this guide, we walk through the steps to install PHP using XAMPP and explore how to leverage Visual Studio Code (VS Code) for efficient coding.
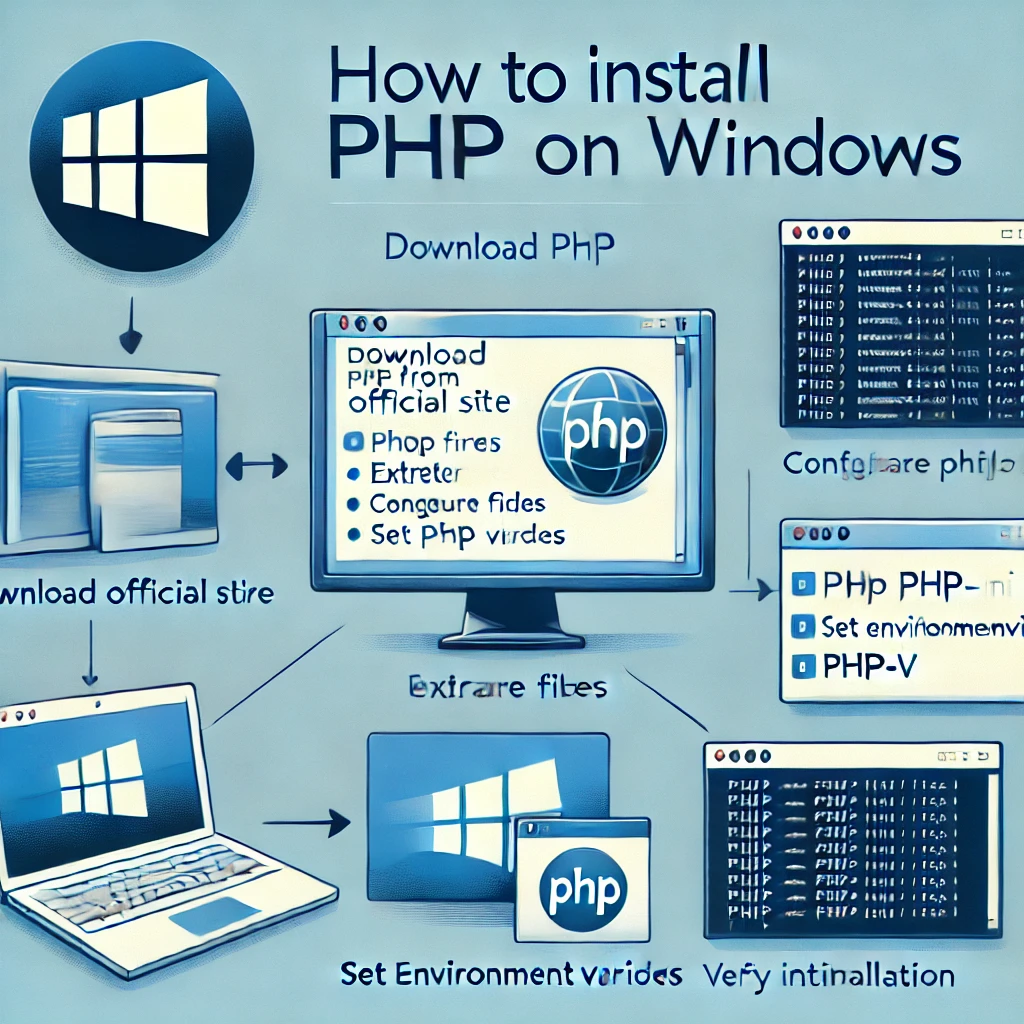
What is XAMPP?
XAMPP is an open-source platform that combines Apache, MySQL, PHP, and Perl, offering a comprehensive environment for developing and testing PHP applications locally. It eliminates the need for separate configurations, saving time and effort.
Why XAMPP?
XAMPP is a powerful and simple solution for setting up a local development environment. Here’s why it’s an excellent choice:
- All-in-One Package: XAMPP bundles Apache, PHP, and MySQL in a single package, saving us the hassle of setting them up individually.
- Ease of Use: Its intuitive interface makes it beginner-friendly while still powerful enough for advanced developers.
- Cross-Platform: Available for Windows, macOS, and Linux, XAMPP ensures consistency across different systems.
- Quick Setup: With default configurations, we can start a local server in minutes and focus on development rather than configuration.
Installing XAMPP
Step 1: Installing XAMPP
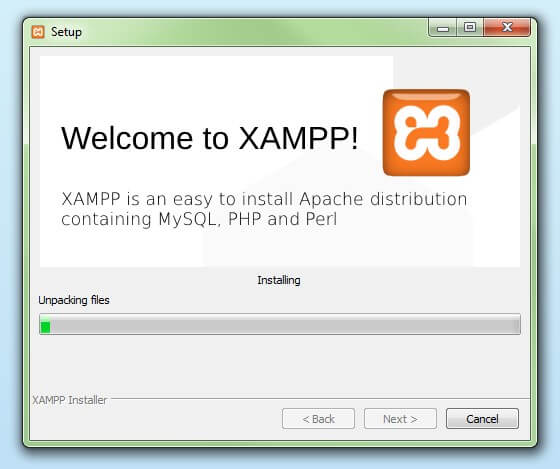
XAMPP is a popular open-source solution for creating a local web server environment. It includes Apache, MySQL, PHP, and Perl, making it an ideal tool for PHP development.
- Download XAMPP: Visit the official XAMPP website and download the installer suitable for Windows.
- Run the Installer: Launch the downloaded file and proceed with the installation. We opted for the default settings and the default folder location (
C:\xampp) for simplicity. However, feel free to customize the installation directory to suit our preferences. - Complete the Installation: Once installed, open the XAMPP Control Panel and start the Apache server. This confirms that the installation is successful.
- Verify the Installation: Open a web browser and enter
http://localhost. If the XAMPP dashboard appears, our setup is complete.
What is MySQL?
MySQL is a widely used, open-source relational database management system (RDBMS) that enables us to efficiently manage and organize large amounts of data. It plays a critical role in web and application development, especially for dynamic websites and applications that rely on databases to store and retrieve data.
Why MySQL?
MySQL is the database system of choice for many developers, and here’s why:
- Widely Used: MySQL powers some of the most popular applications, including WordPress, Facebook, and YouTube, making it an industry-standard.
- Open Source: It’s free to use, which is perfect for personal projects or startups.
- High Performance: MySQL handles large datasets efficiently, ensuring quick queries and responses.
- Integration with PHP: MySQL integrates seamlessly with PHP, making it an excellent choice for web applications.
Step 2: Installing Visual Studio Code (VS Code)
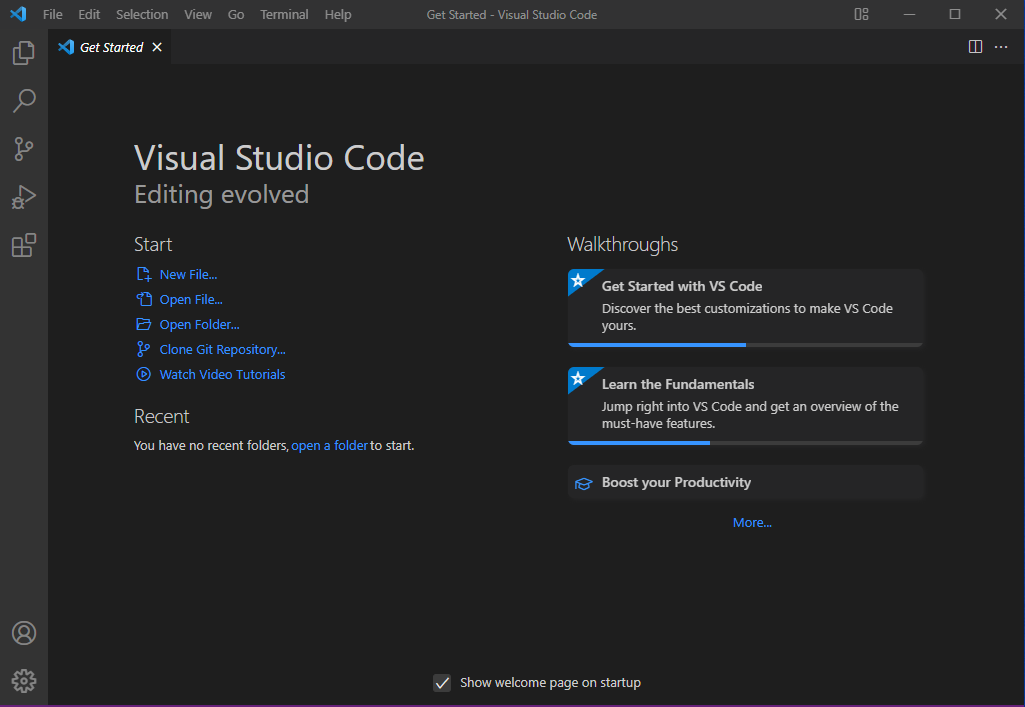
VS Code is a powerful code editor widely used by developers. Its features make coding more efficient and enjoyable compared to standard text editors.
- Download and Install VS Code: Head to the official VS Code website and download the installer. Follow the installation instructions to set it up.
- Explore Key Features:
- Syntax Highlighter: VS Code provides syntax highlighting, making PHP code easier to read and debug.
- Extensions: Install extensions like “PHP Intelephense” for autocompletion and error detection, “PHP Debug” for debugging, and “Prettier” for code formatting.
- Integrated Terminal: The built-in terminal allows us to execute commands without switching between windows.
- Advantages Over Basic Text Editors:
- VS Code supports advanced features like IntelliSense, which offers smart completions and inline suggestions.
- It provides a seamless debugging experience, reducing the time spent finding and fixing errors.
- Extensions and customization options make it suitable for all levels of developers.
Step 3: Linking XAMPP and VS Code
- Create a PHP File: Open VS Code and create a new file with a
.phpextension (e.g.,index.php). - Save in the XAMPP Directory: Save the file in the
htdocsfolder of the XAMPP installation directory (e.g.,C:\xampp\htdocs). This allows Apache to serve the file. - Run the PHP File: Open a web browser and navigate to
http://localhost/filename.php(replacefilename.phpwith the actual file name). If the output appears as expected, our PHP environment is set up correctly.
Additional Tips for Optimizing Our PHP Workflow
- Use Version Control: Integrate Git with VS Code to manage our code versions efficiently. This is particularly helpful when working on large projects.
- Enable Error Reporting: Modify the
php.inifile in XAMPP to enable error reporting for debugging purposes. Locate the file in theC:\xampp\phpdirectory, find thedisplay_errorssetting, and set it toOn. - Explore Debugging Tools: Install the “PHP Debug” extension in VS Code and configure it with Xdebug for a seamless debugging experience.
Conclusion
By installing XAMPP and VS Code, we have created a robust development environment for PHP on Windows. XAMPP simplifies the server setup, while VS Code enhances our coding experience with its rich features. This combination allows us to focus on writing efficient and error-free PHP code effortlessly.
Kushagra Kumar Mishra
Latest posts by Kushagra Kumar Mishra (see all)
- Advanced WordPress Topics: Security, Performance, and Scalability (Part-2) - March 10, 2025
- Troubleshooting and Advanced Topics Part-1 - March 10, 2025
- Website Design and Development - March 10, 2025


Recent Comments